It’s time! One of the best parts about the spring season are the plants and flowers we get to enjoy. They bring so much life, beauty, and décor to the exterior of your home that it is worth investing in some TLC as nature blooms into Spring.
But before you embrace the garden in your yard, I highly recommend spending time on the details of your lawn – preparation, as I call it. The best approach to tackling this project is to start with a supply list. These items will get you organized and will avoid those mid-project home improvement store runs. From there, we’ll run through a set-by-step plan to prime your yard for a blooming season!

Supply List:
Mulch
Organic Fertilizer
Landscaping Rake
Lawn Mower
Lawn Mower Bag(s)
Tank of Gasoline
Fertilizer Spreader
Core Aerator
Gardening Gloves
Hose with Sprinkler
Lawn and Leaf Bags
Lime Application (optional!)
*A really amazing Landscaper and Lawn service can also help with all these tasks if you’re not a do-it-yourselfer.
To-Do List:
Step 1: Check your Tools
Take inventory of your supplies! This includes assessing whether you need new sprinkler heads and checking the gas tank for your lawnmower, for example. If replacements are necessary, they need to be made before all else.
Step 2: Rake the Yard
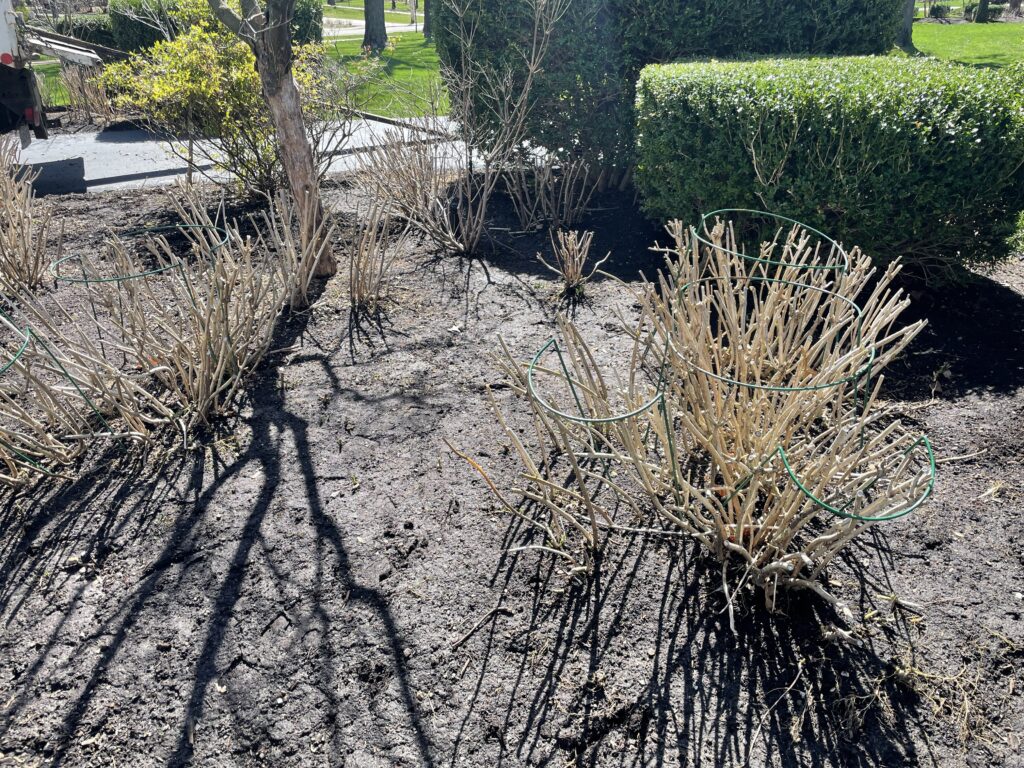
This step can be particularly overwhelming. Rake downhill and part your yard into sections to break up the work so that you won’t miss the details! Scan your yard for fallen branches – this includes pruning, rake out all hedges and plants to get old leaves and winter debris removed. Always make sure to clean up around plants and bushes so they can be easily hydrated.
Raking dry ground is a MUST, as a rake to wet grass can uproot stems – leading to patches on your lawn.
Step 3: Aerate the Soil
This tool is great for creating a pathway to nutrients for your grass – fertilizer and mulch – to promote growth! Regular core aeration to your lawn is a good practice because it supports the appearance and long-term health of your grass.
Step 4: Lay the Fertilizer, and then Mulch
Fertilizer Spreaders – similar to lawnmowers and aerators – make fertilizing your yard easier. There are a variety of different machines. For example Broadcast and Rotary are recommended for larger properties, while a handheld spreader is great for focusing on the specific areas of your lawn. Homemade compost is becoming further recognized as a natural alternative to store bought fertilizer.
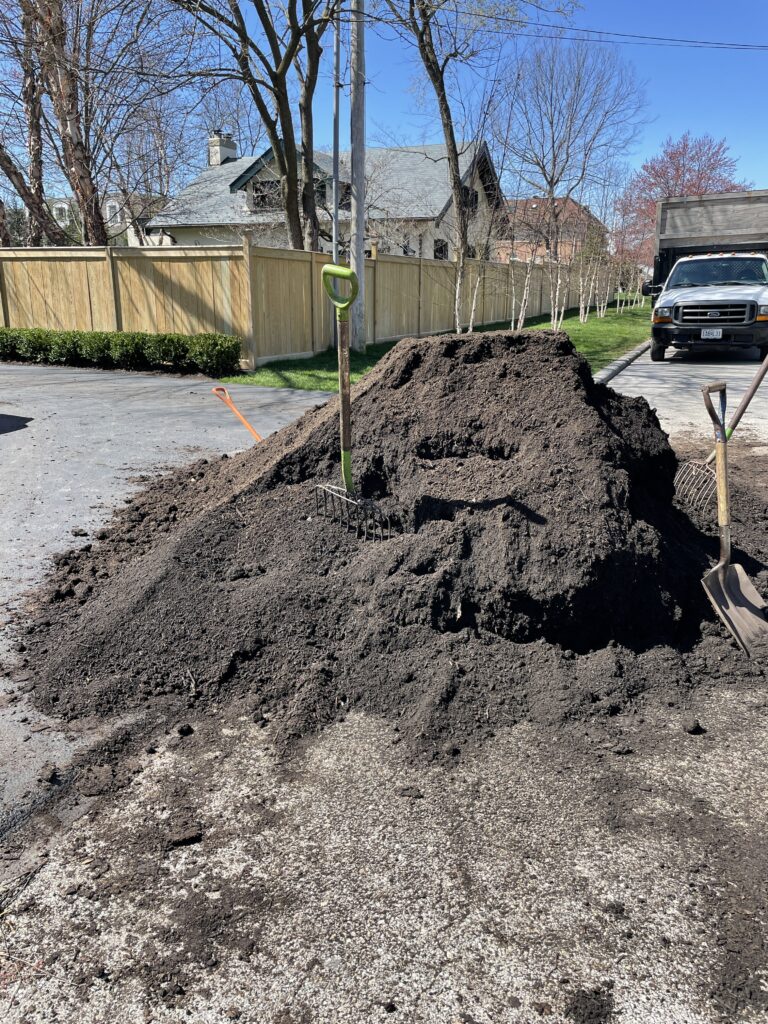
After fertilizing, mulch is a wonderful complement as it maintains moisture and prevents weeds from growing. We recommend following the directives on your purchased product to assess the necessary application to your yard. I always use the Black Gold Mulch from St. Louis Compost.
Step 5: Lime (optional)
Liming your lawn encourages the grass to absorb the fertilizer and mulch nutrients. A soil pH test can help signify whether this step is necessary for your property!
Step 6: Water
Watering once a week is good practice and the means to how you approach this – sprinkler garden hose, or underground irrigation system is yours to decide! The beautiful thing about nature is that it will express in its appearance whether it needs more water. Wilted or discolored grass communicates dehydration.
Step 7: Mow
Always start your lawn mower on a fresh tank of gas. The ideal time of day is in early evening, when the heat of the day is coming to an end and when the grass is dry – wet grass can clog the mower’s motor. Above else, always cut when the grass is lengthy, as opposed to short buds; this promotes long-term growth.
Step 8: Clean up!
Composting is a progressively popular approach to removing the debris on your lawn. Other recommendations include leaving the grass clippings on your lawn to promote the lawn’s access to nutrients (a natural fertilizer.)

Now that you’ve completed the yard clean up, you have created space for decoration – yes, I mean planting flowers… my favorite part! Tulips, and Annabelle Hyrdrangeas are some of my seasonal favorites.
